Category: Uncategorized
What is Video Frame Rate?
A video is a collection of multiple still images played while streaming. The rate at which these images are displayed is referred to as frames per second (FPS). Video frame rates are measured in FPS and refer to the number of still images shown every second. In streaming technology, each still image is referred to as a frame.

A higher frame rate refers to more images being displayed in a second, resulting in smoother video quality. Higher FPS also results in improved video quality and reduced motion blur. On the other hand, low frame rates may lead to choppy playback and poor image quality.
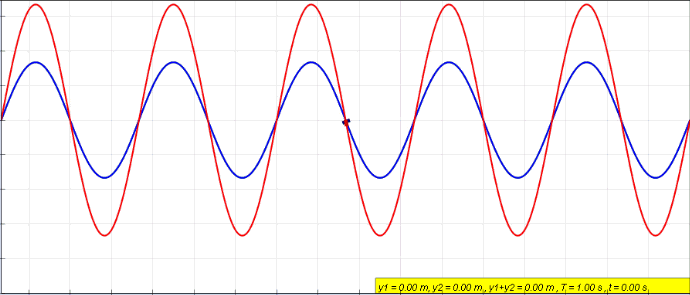
Sine Wave Resonance

TSP Implementation
Ideal Body Weight

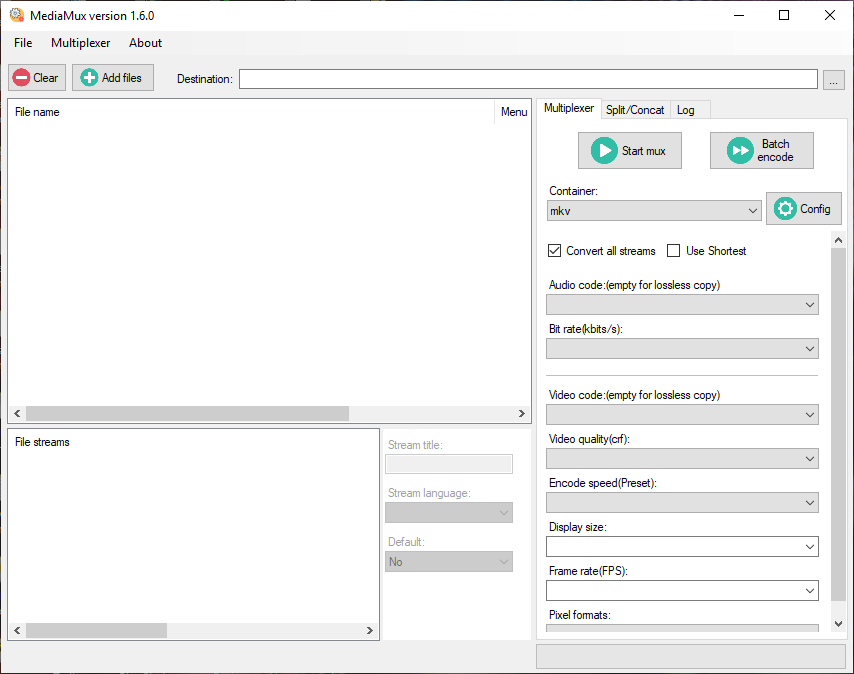
MediaMux Video Editor
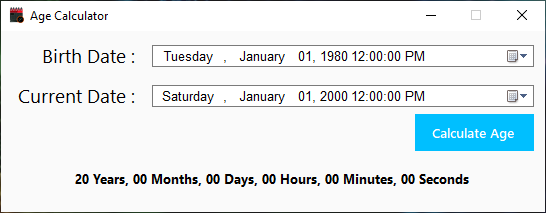
Age Calculator
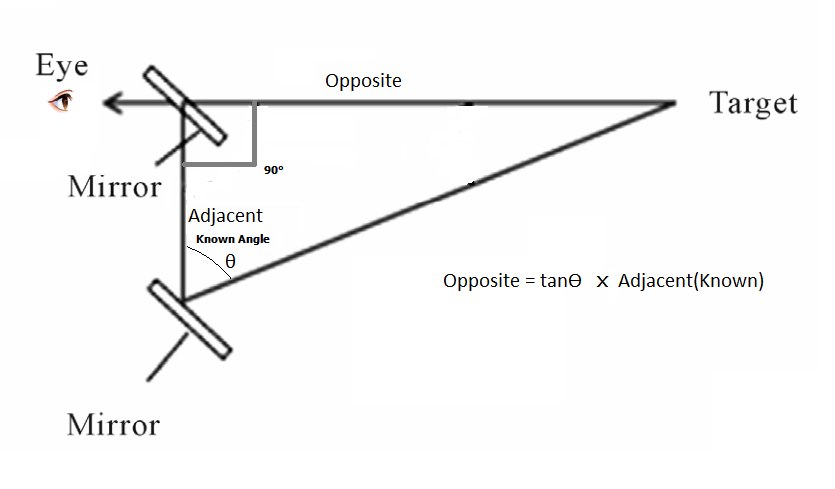
How Do Rangefinders Work
What is galvanization?
Galvanization or galvanizing is the process of applying a protective zinc coating to steel or iron, to prevent rusting. There are two types of galvanization:
1.Electro Galvanization or Electro-Plating.
2.Hot-dip Galvanization.
Galvanization protects the steel or iron underneath and can therefore extend the lifespan of metal parts.